Getting Started
In this section, we will be adding your GitLab token to GitPig. This will allow GitPig to make requests to the GitLab API on your behalf.
This guide assumes you have already installed GitPig. If you have not, please see the installation guide for more information.
Getting your Personal Access Token
Follow the GitLab documentation for the latest approach to creating a Personal Access Token.
When creating your token, ensure that you have enabled the api scope. See GitLab's documentation for more information on scopes.
Adding your token
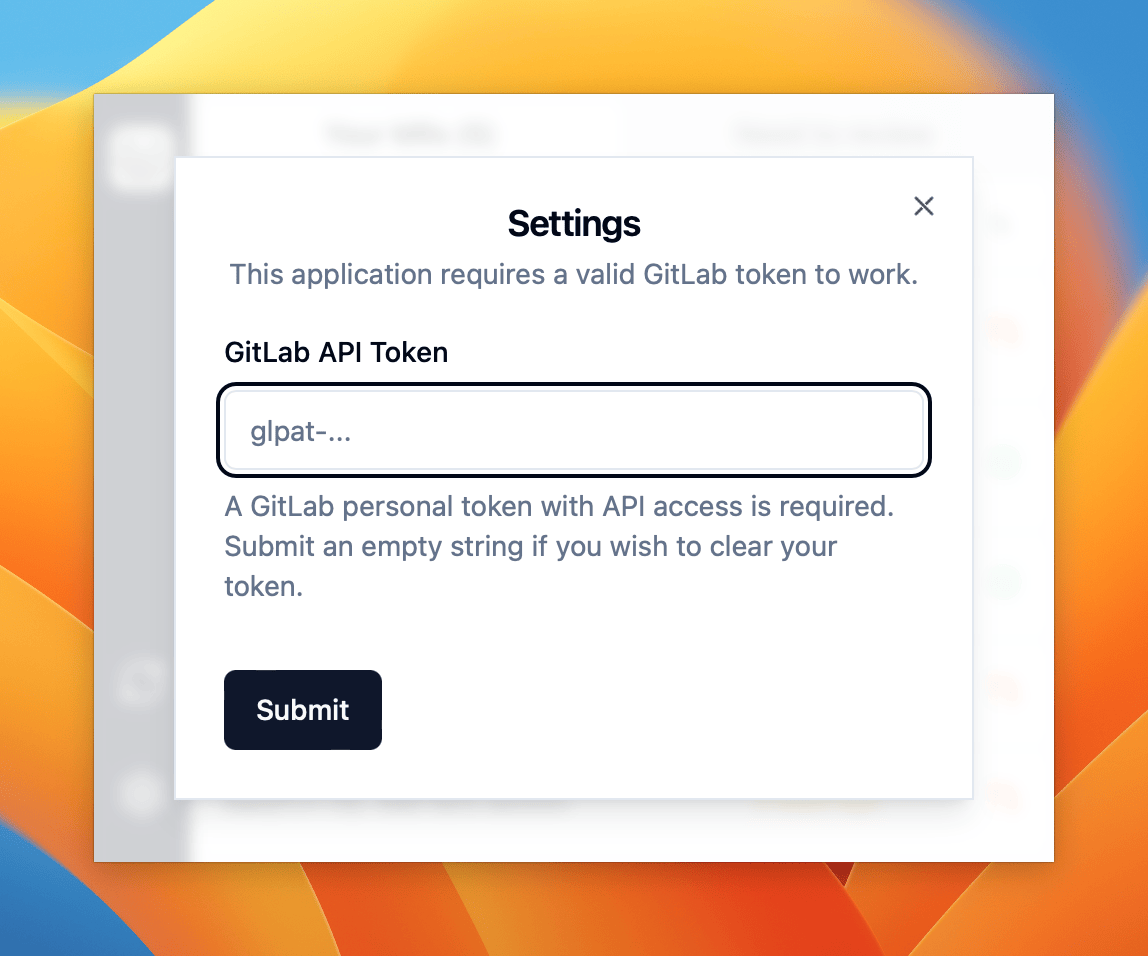
Once you initialise your application, you should be prompted for your GitLab token:

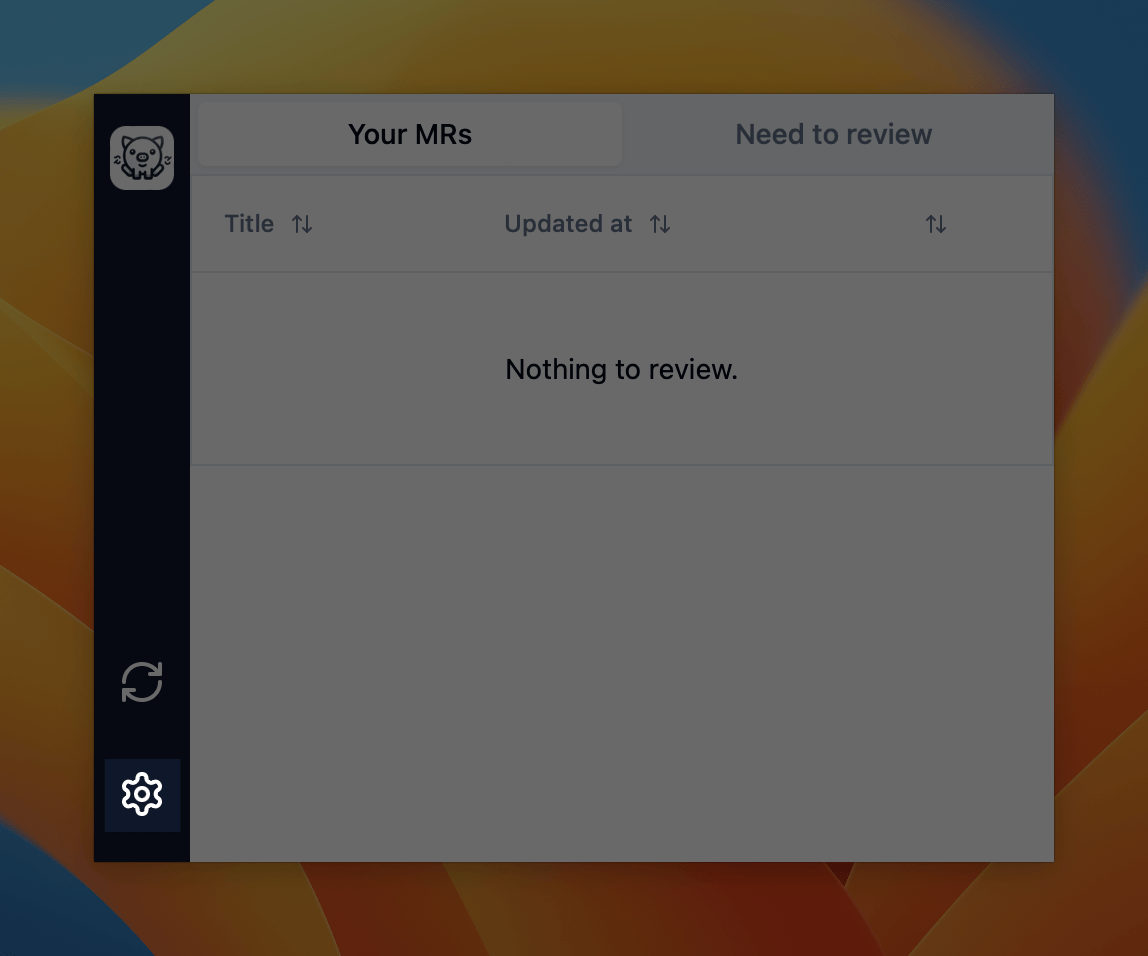
If this does not occur automatically, you can add this token by navigating to the Settings by selecting the settings cog icon on the bottom-right-hand corner of the app:

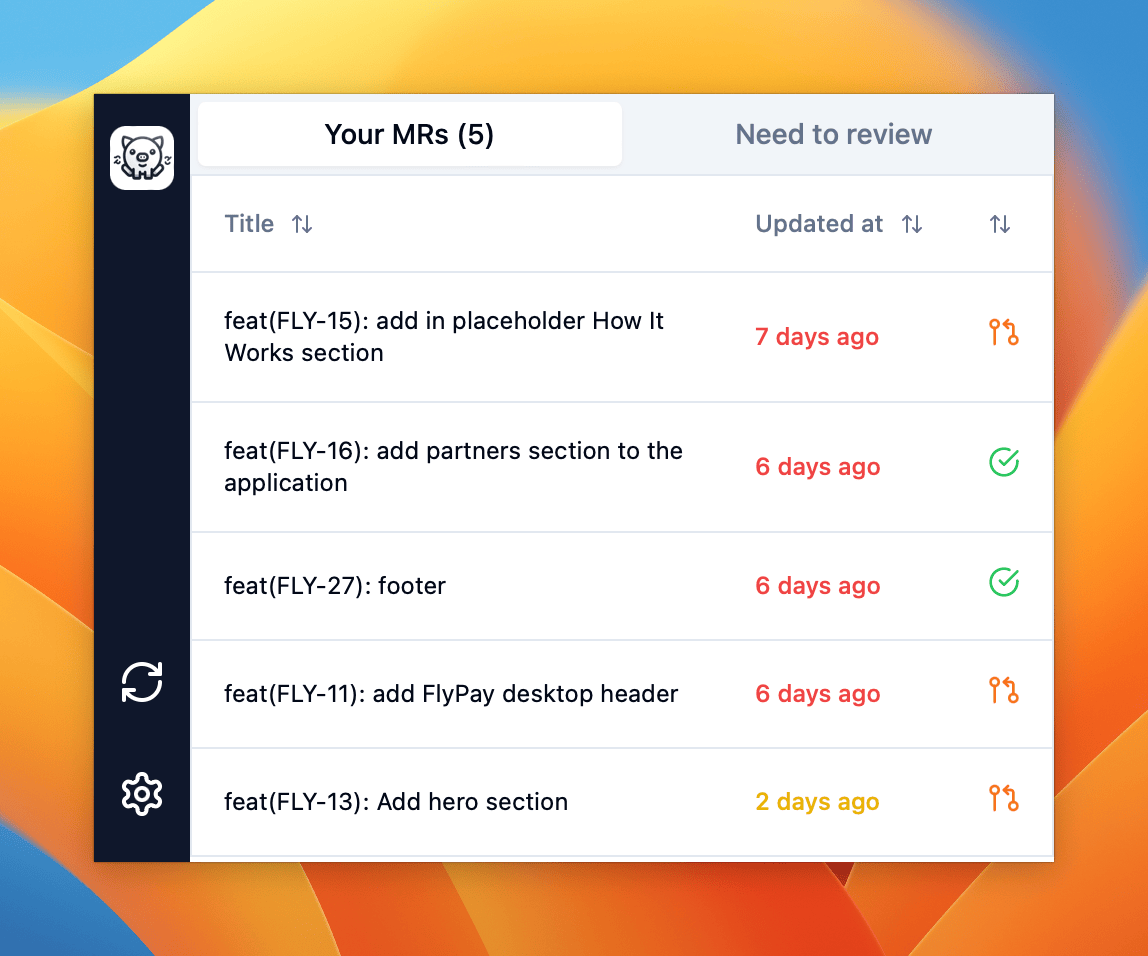
If successfully added, you will now start receiving your GitLab notifications in GitPig:

GitPig checks for any changes in the background every 5 minutes and will update the app and system tray icon (not available on Linux) accordingly.
What's next?
Great, you're now set up with an API client and have made your first request to the API. Here are a few links that might be handy as you venture further into the Protocol API: